Getting started
From an empty scene to a planet on screen. This page assumes the addon is already installed.
Your first planet
- Create (or open) a 3D scene.
- Select the root node → Add Child Node → search for
Celestial→ add it. - Add a
Camera3Dto the scene and set its Transform → Position to(0, 0, 2500). - Press Play.
You should see a full globe with terrain on it. The default radius is 1000, so a
camera around 2500 units from the origin frames the whole planet; move in to ~1100 to
sit just above the surface. A camera inside the radius starts you underground, which is
the usual reason a first run looks like a black screen.
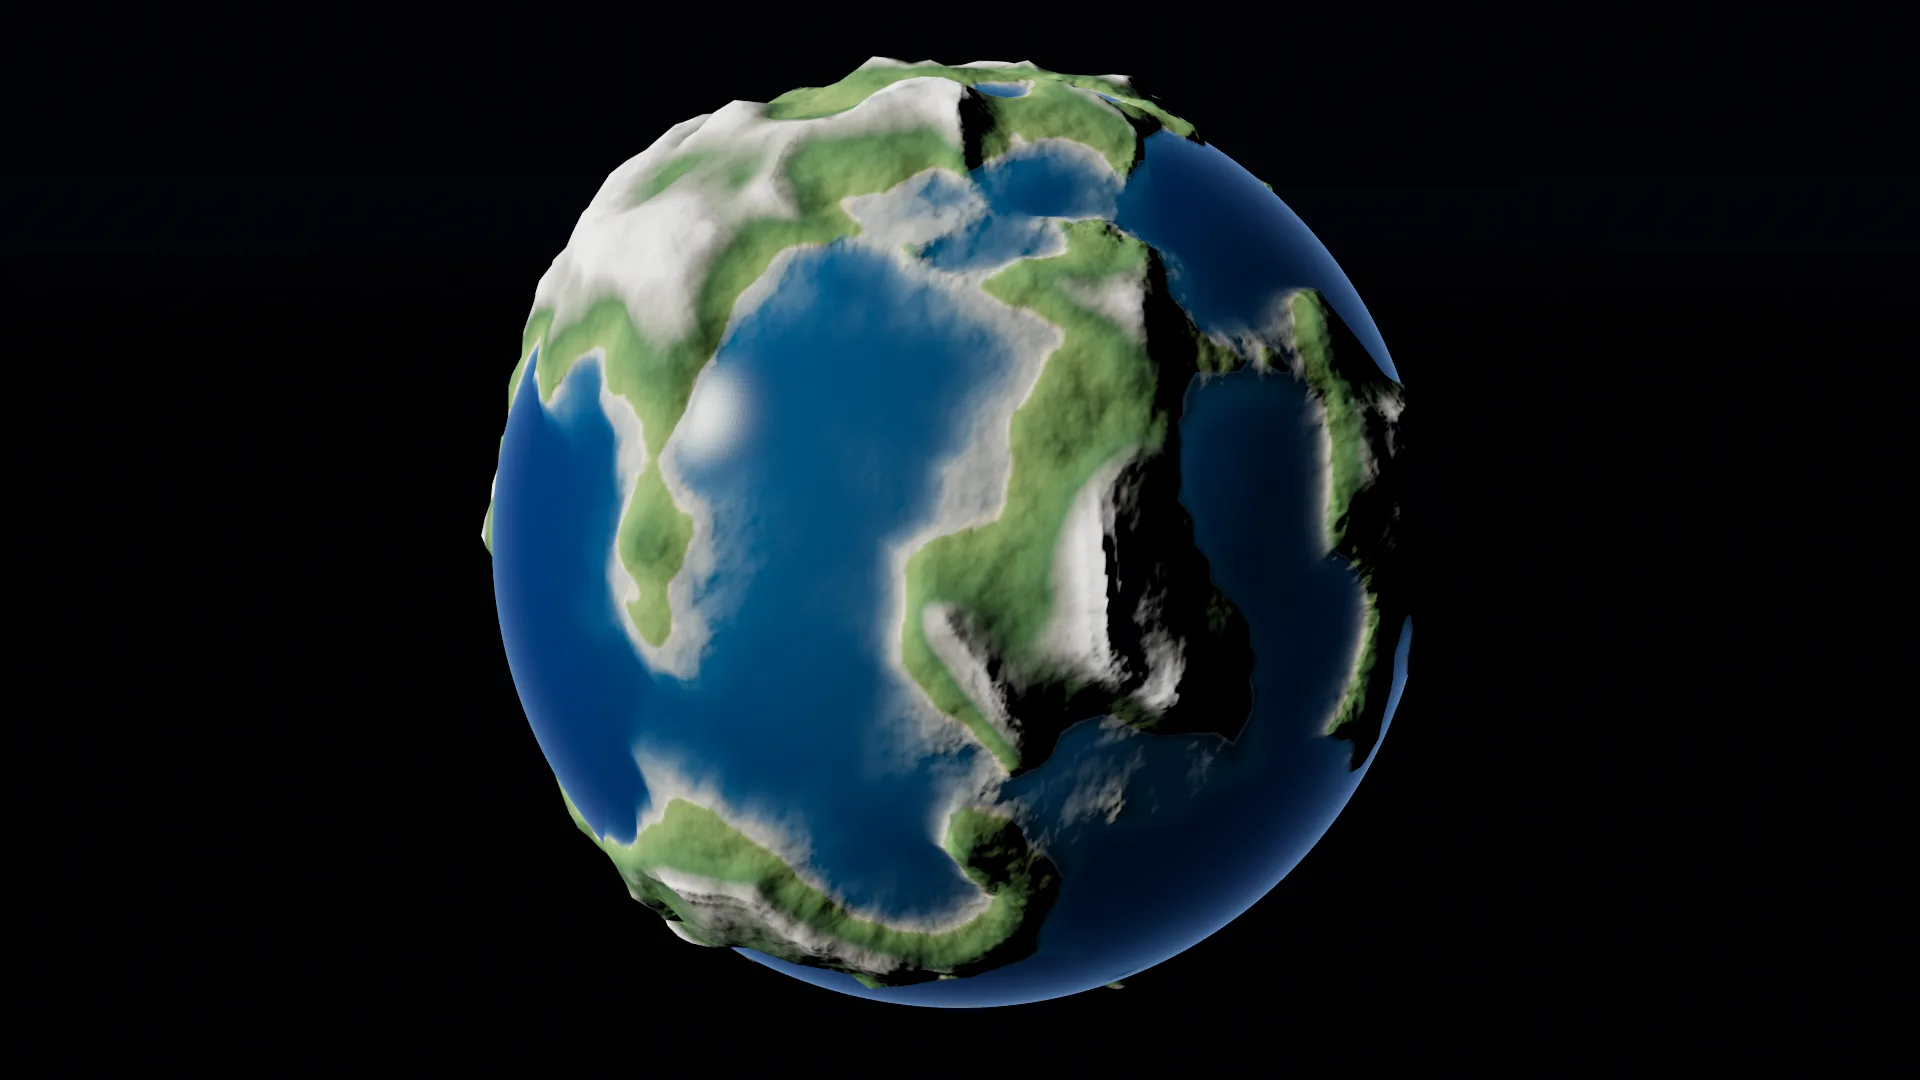
A stock Celestial node, framed from 2500 units out. This is what a first run looks
like — no builder to assign, no material to set up.
A new Celestial node auto-assigns a CesGPUNoiseExample builder, so it is never
blank out of the box. Clearing the builder slot renders a plain white sphere.
Fly around a finished scene
The repository ships scenes/celestial_v5.tscn — a navigable planet with a freefly
camera and a stats HUD. Open it and fly down to the surface to watch the LOD work.
scenes/celestial_gpu_noise.tscn, scenes/celestial_cpu_noise.tscn and
scenes/earth_size_planet.tscn are smaller examples.
From code
Celestial is a plain Node3D, so you can spawn one like any other node:
extends Node3D

func _ready() -> void:
    var planet := Celestial.new()
    planet.radius = 1000.0
    planet.screen_error = 0.02
    planet.tile_res = 64
    add_child(planet)
Properties set before add_child are picked up on the first frame, and changing them
later updates the planet live.
The knobs that matter first
| Property | Default | What it does |
|---|---|---|
radius |
1000.0 |
The planet's size in world units. Everything else is relative to it — scale your camera speed and near/far planes with it. |
screen_error |
0.02 |
Detail vs. cost. Lower = sharper terrain and more chunks (so more GPU work); higher = coarser and cheaper. Range 0.005–0.5. |
tile_res |
32 |
Resolution of the colour + normal texture baked per chunk. Raise it (64, 128) for crisper surface detail, at the cost of VRAM and bake time. Range 8–1024. |
max_bakes_per_frame |
48 |
How many newly-visible chunks may be realized and baked in a single frame. Lower it to smooth bake spikes after a teleport or a fast dive; raise it to fill in detail faster. |
lod_colors |
false |
Debug: tints chunks so you can see the LOD tiling and where splits happen. Turn it on when screen_error isn't behaving as you expect. |
There are more (chunk_res, max_depth, vram_budget_gib, geomorph, horizon_cull,
…) — the Celestial node reference has the full list.
Turn off V-Sync before you judge performance
V-Sync caps the framerate at your monitor's refresh rate, which hides the real cost of a setting. Before you measure anything, go to Project Settings → Display → Window → V-Sync Mode and set it to Disabled. Put it back when you're done.
Where next
- Make your own terrain — swap the default noise for a
.glslshader or a GDScript builder. - Add an ocean — water is configured on the builder, not on the planet.
- Scatter objects — GPU-placed grass, trees and rocks via
scatter_layers. - How it works — the quadtree cut, the GPU graph, and why there is no readback.